How to use FlowSelfie
Eight simple steps — from preparing the device to completing the measurement.
Order via Telegram-
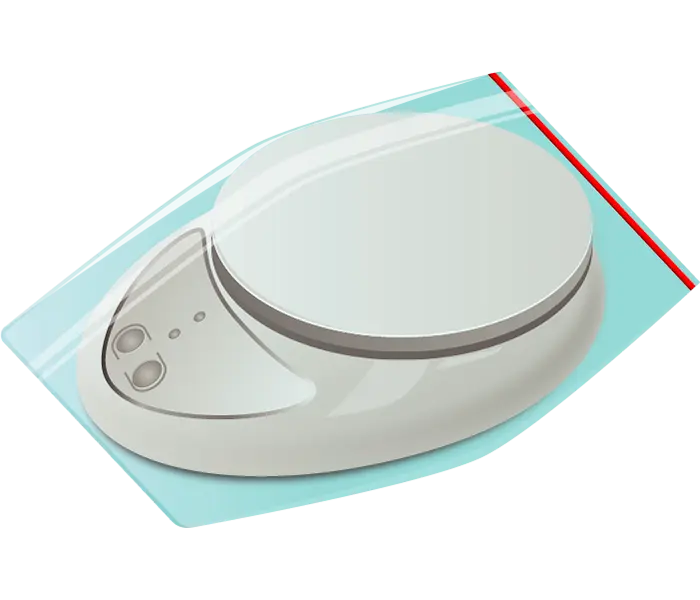
Prepare the device
- Place the uroflowmeter into the zip-lock bag.
- Close the zip-lock bag.
-
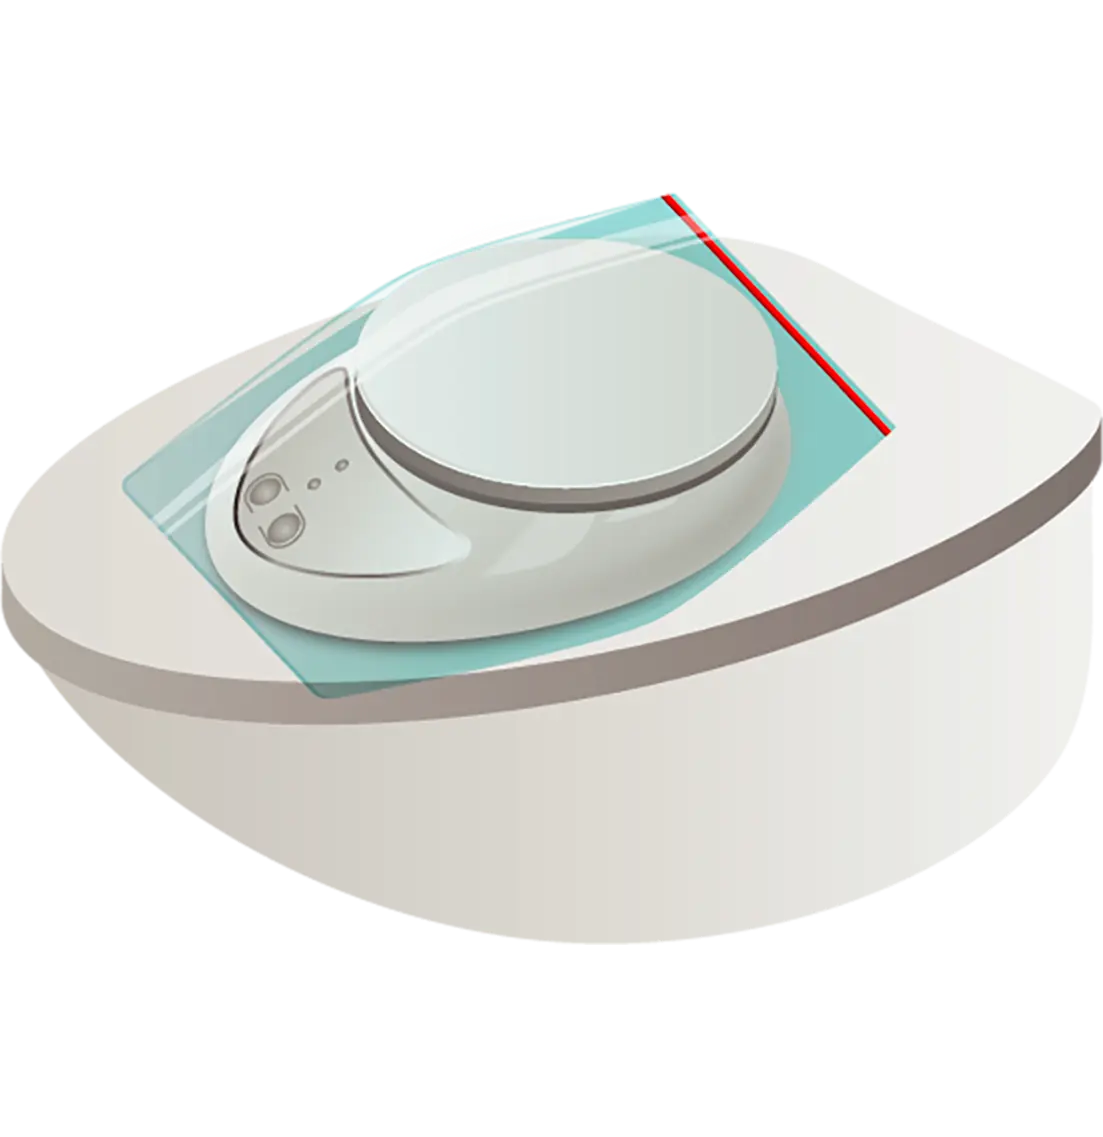
Place on the toilet
Place the uroflowmeter on the lowered toilet lid.
-
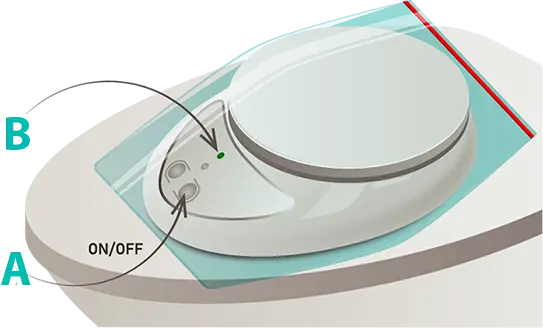
Turn on the device
- Press the ON/OFF button (A).
- The green indicator lights up (B).
-
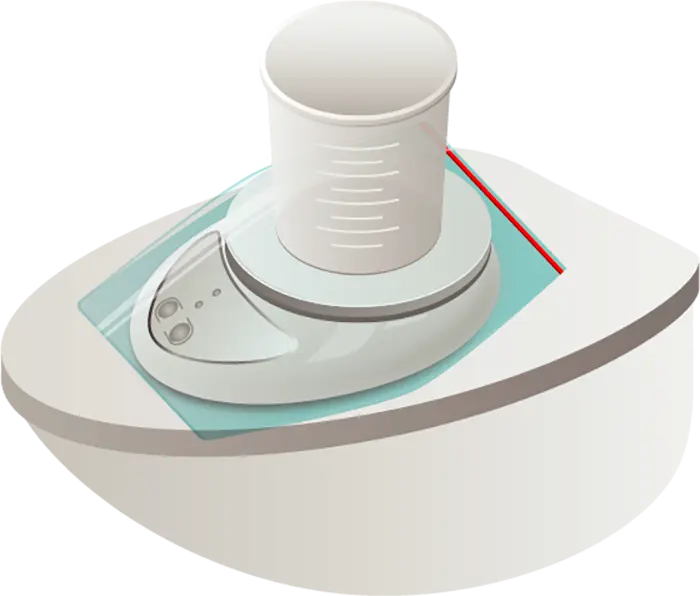
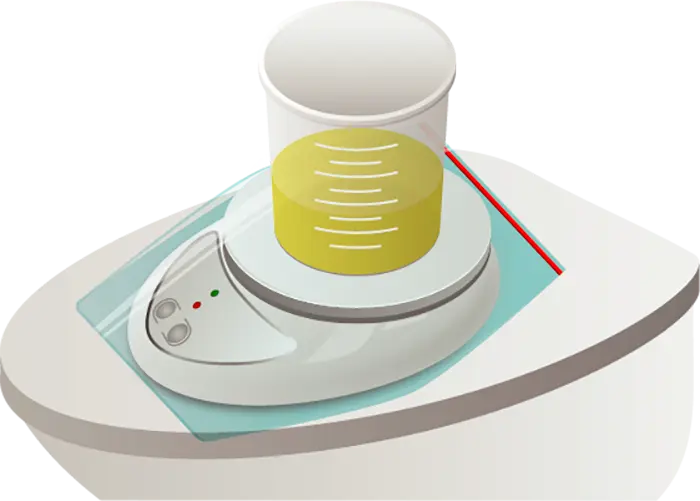
Place the collection container
Place the urine collection container on the uroflowmeter.
-
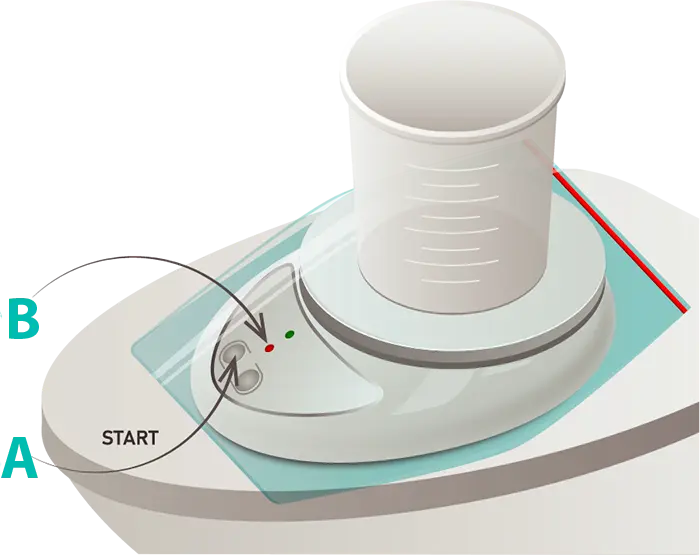
Start recording
- Press the START button (A).
- The red indicator lights up (B).
- The uroflowmeter is ready. Both indicators should be on.
- ⚠ Do not touch the urine container, move the uroflowmeter, or let clothing contact it while recording.
-
Complete the measurement
Urinate into the container on the uroflowmeter.
-
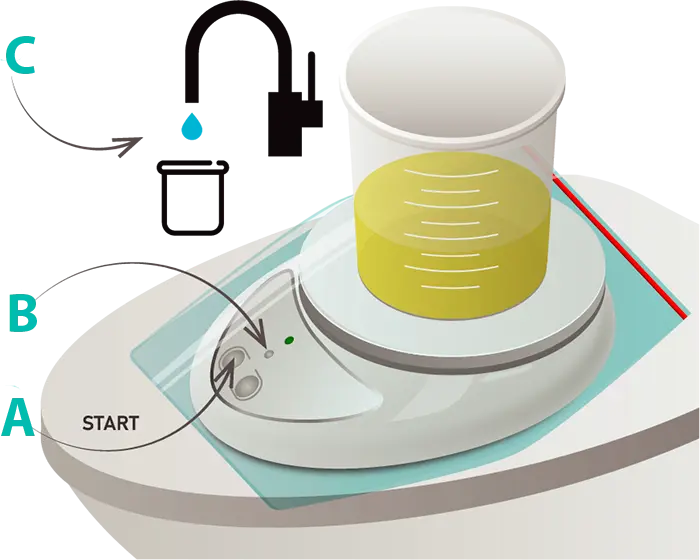
Stop recording
- When urination is fully complete, press the START button again (A).
- The red indicator turns off — recording is done; you may touch the container (B).
- Remove the container, dispose of the urine, and rinse the container (C).
-
Turn off the device
- Turn off the uroflowmeter by pressing the ON/OFF button (A).
- The green indicator turns off (B).
- Store the uroflowmeter until the next measurement.
